
Prepping a garage floor for epoxy coating involves removing contaminants, repairing cracks, and creating a surface profile that the coating can bond to mechanically. Diamond grinding produces a superior bonding surface compared to acid etching, which is why professional installers in Cleveland overwhelmingly prefer it. Cleveland Concrete Coatings uses diamond grinding as the foundation of every garage floor coating installation across Greater Cleveland.
After years of installing garage floor coatings across Northeast Ohio, here’s what we can tell you: preparation determines outcome more than product selection. A premium coating over a poorly prepared slab fails. A properly prepared slab holds even a mid-tier product for years. Most of the peeling, bubbling, and delamination we get called to fix started with shortcuts in prep, not with bad material.
This guide covers what proper preparation actually involves and why the method matters as much as the effort.
What Surface Preparation Actually Does

Concrete looks solid, but at the microscopic level it’s porous and textured. A coating bonds by flowing into those pores and gripping the surface profile. If the profile is too shallow (smooth, sealed concrete), the coating sits on top rather than locking in. If contaminants like oil, paint, or old sealers fill those pores, the coating bonds to the contaminant instead of the concrete. When the contaminant fails, the coating goes with it.
Surface preparation has two objectives: clean the concrete of anything that would interfere with adhesion, and create a surface profile deep enough for the coating to mechanically lock into the slab.
Diamond Grinding: The Professional Standard

Diamond grinding uses a machine fitted with rotating diamond-segment discs that mechanically abrade the concrete surface. The process removes the top layer of concrete (typically 1 to 3 mils), along with any paint, sealer, adhesive, or surface contaminant. What remains is a uniformly profiled concrete surface with open pores and a texture that coatings grip aggressively.
Grinding produces what’s called a CSP-2 to CSP-3 profile (Concrete Surface Profile), which is the range most coating manufacturers specify for proper adhesion. The profile is consistent across the entire floor, including edges, corners, and areas around drains or expansion joints.
In Cleveland, where garage slabs are frequently older and may have been sealed, painted, or patched multiple times, grinding is the most reliable way to reach clean concrete beneath those layers. Homes in communities like Rocky River and Parma Heights often have mid-century garage slabs with decades of accumulated surface treatments that acid etching cannot penetrate.
Acid Etching: Why DIY Guides Still Recommend It
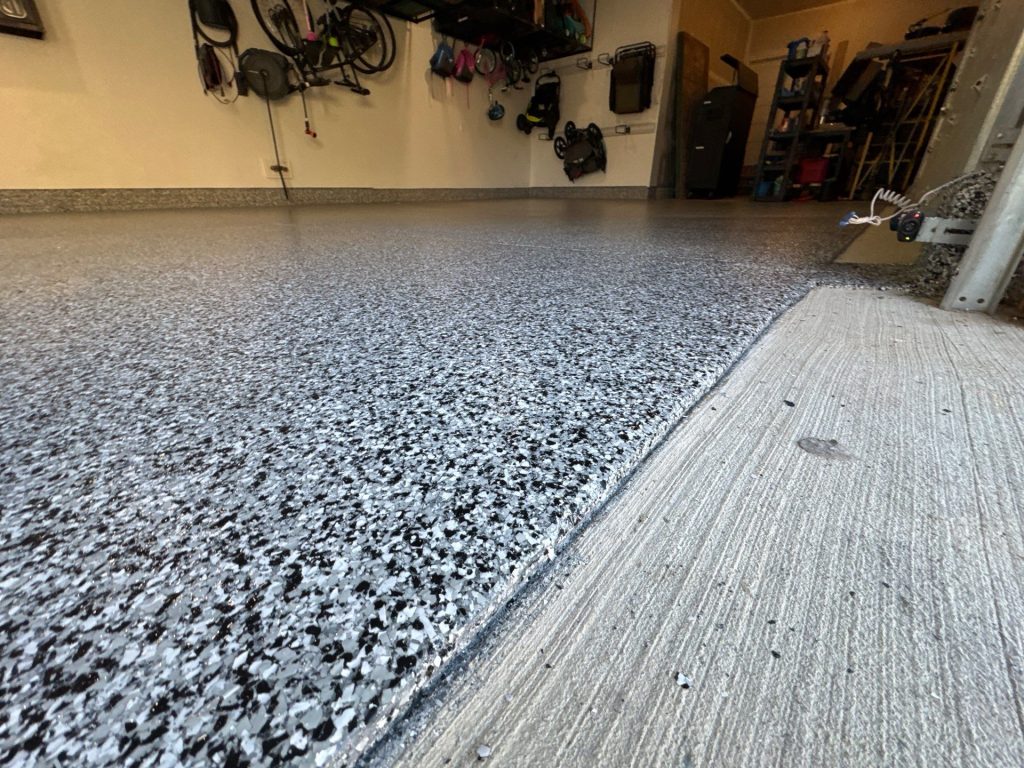
Acid etching applies a muriatic or phosphoric acid solution to the concrete surface. The acid reacts with the calcium in the cement, creating a light texture. It’s the method recommended in most hardware store epoxy kit instructions because it requires no specialized equipment.
The problem is that acid etching produces an inconsistent profile. The reaction depends on the concrete’s composition, moisture content, and existing contaminants. Areas with oil stains don’t react at all. Sealed sections resist the acid. The result is a floor with strong adhesion in some spots and almost none in others.
In Northeast Ohio’s freeze-thaw climate, those weak spots fail first. Moisture vapor pushes up through the slab, finds the areas where adhesion is weakest, and lifts the coating from below. What started as a small bubble in October becomes a peeling section by March.
The Full Prep Process: What a Professional Installation Includes
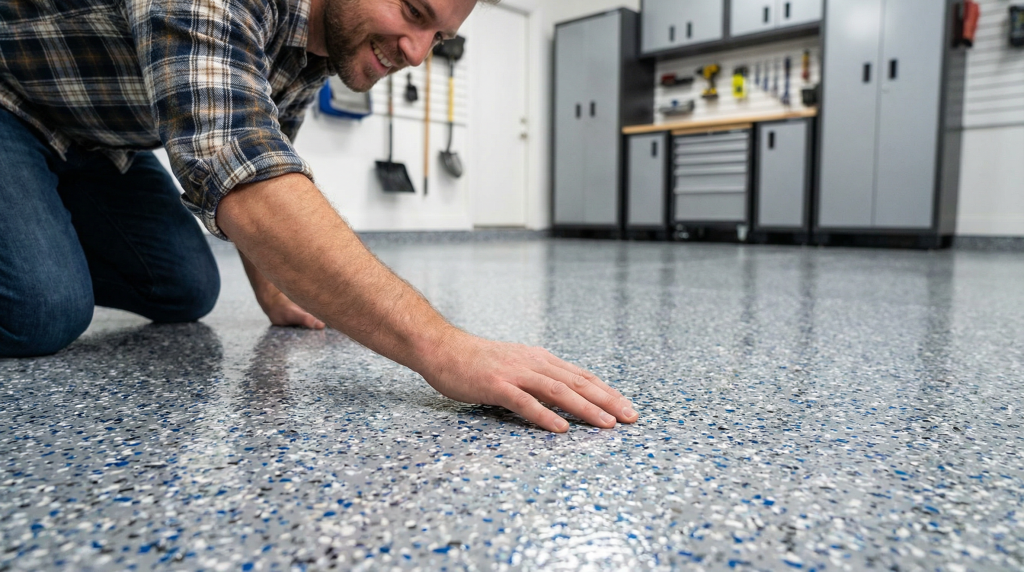
Step 1: Assessment
The floor is evaluated for cracks, previous coatings, moisture content, and structural condition. A moisture test determines whether vapor drive needs to be addressed before coating.
Step 2: Clearing and Protection
The homeowner clears the garage. The crew lays protective sheeting to keep dust and debris from adjacent spaces.
Step 3: Diamond Grinding
The machine grinds the entire surface to the manufacturer-specified profile. Edges and corners are ground with handheld tools to ensure full coverage.
Step 4: Crack and Joint Repair
Cracks are filled with flexible polyurea filler that moves with the slab through seasonal expansion and contraction. Control joints are addressed based on the coating system’s requirements.
Step 5: Vacuuming and Decontamination
All dust and grinding residue is removed. The surface is inspected for any remaining contaminants.
Step 6: Coating Application
With the slab properly profiled and clean, the coating system goes down and bonds to the prepared surface. For a full cost breakdown of what this process involves, our garage floor coating cost guide covers pricing by project size and condition.
What Happens When Prep Is Skipped
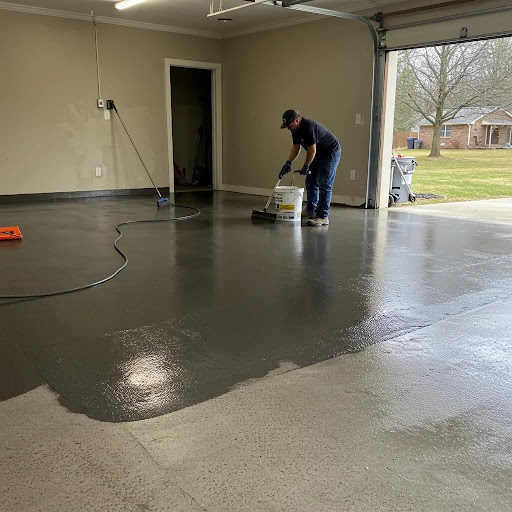
The most expensive garage floor coating in the world will fail on a slab that wasn’t properly prepared. The coating needs two things from the concrete: a clean surface and a mechanical profile. Without both, adhesion is temporary. Cleveland Concrete Coatings regularly recoats floors where the original installer skipped grinding, used only acid etching, or applied coating over existing sealers. The repair often costs more than doing it right the first time.
For homeowners comparing bids, the question to ask any contractor is: what is your surface preparation process? If the answer is acid etching, the coating is starting at a disadvantage. If the answer is diamond grinding with moisture testing, the foundation is right. For more on what separates a lasting installation from one that fails early, our best garage floor coating guide explains the variables that matter.
Frequently Asked Questions
Can I prep my garage floor for epoxy myself?
You can rent a diamond grinder and do the surface preparation yourself, but the equipment requires experience to operate safely and consistently. Uneven grinding creates high and low spots that telegraph through the finished coating. Most DIY failures in Cleveland-area garages trace back to insufficient or inconsistent surface prep rather than product quality.
How long does professional garage floor prep take?
For a standard two-car garage, diamond grinding and crack repair typically take three to four hours. The full installation, including coating application, completes in a single day. Cleveland Concrete Coatings’ process moves from grinding through final application within approximately 24 hours.
Does the garage floor need to be completely dry before coating?
Yes. Concrete moisture content must be within the coating manufacturer’s specified range before application. In Northeast Ohio, where garage slabs sit on clay-heavy soil with seasonal groundwater fluctuation, moisture testing is a critical step. Coating over a slab with active moisture vapor drive leads to adhesion failure regardless of how well the surface was ground.
Start With the Right Foundation
Every lasting garage floor coating starts with the same thing: properly prepared concrete. Diamond grinding, crack repair, and moisture testing aren’t optional. They’re the foundation the coating bonds to. If your garage floor needs a fresh start, request a free quote from Cleveland Concrete Coatings. We’ll assess the slab and tell you exactly what it needs before any coating goes down.

Benjamin & Andrew Smola are the owners of Cleveland Concrete Coatings, a concrete coating company based in Cleveland. With a hands-on approach and local expertise, Benjamin, Andrew, and their team are dedicated to delivering durable, high-quality flooring solutions for homes and businesses throughout the area.